Defining DIT part 1 on nofilmschool

Defining DIT part 1 on nofilmschool

October 8, 2013

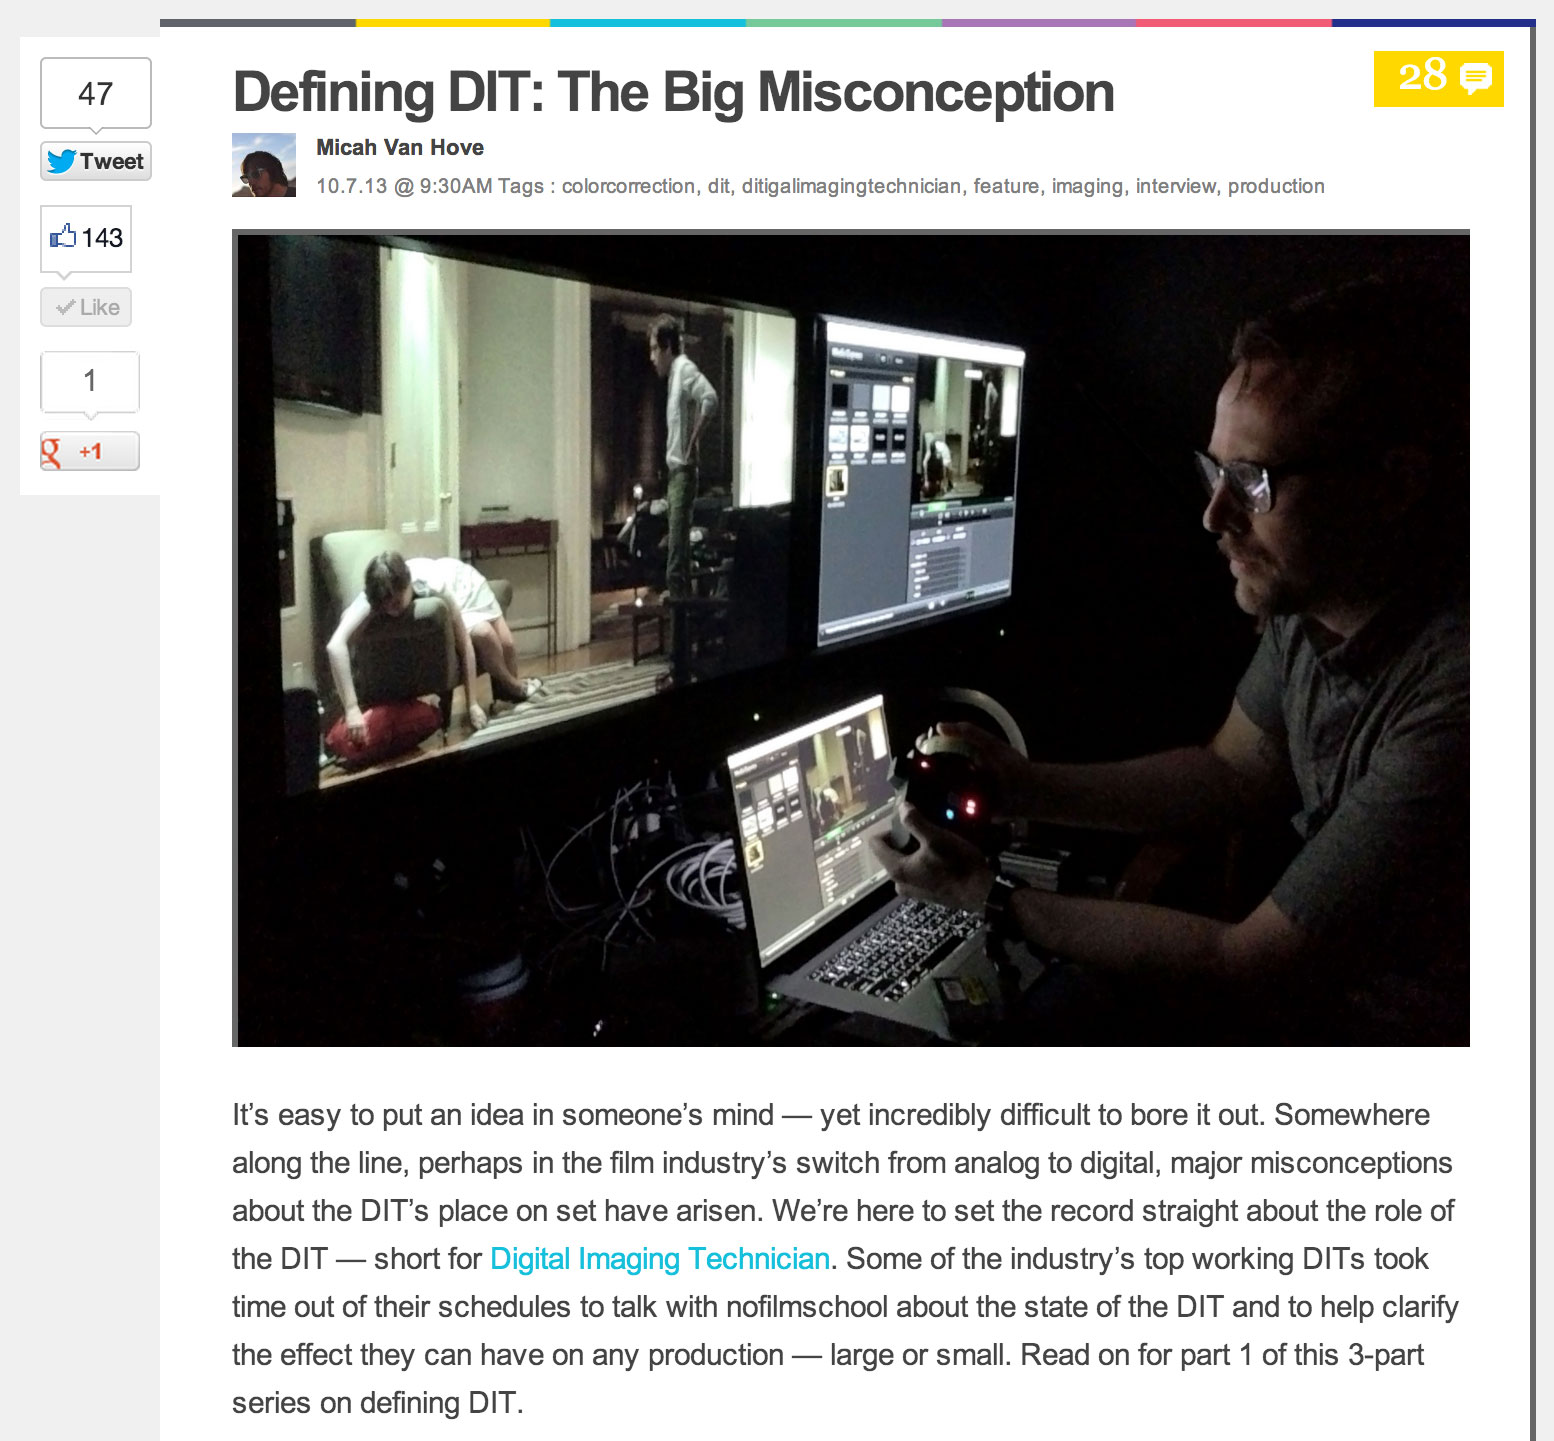
Article one of three is now live at nofilmschool.com. In this first piece, Micah Van Hove talked to east coast DIT's Abby Levine, Ben Schwartz, and myself as well as west coast DIT, Elhanan Matos about where the Digital Imaging Technician position came from and how it's evolved to its current state. Here we do our best to identify what some of the misconceptions are about what it is we do and why we do it. Give it a read and share the love. 

http://nofilmschool.com/2013/10/defining-dit-biggest-misconception-dits/ 

Need Scratch Lab?

cheap_scratch.jpg

Need Scratch Lab?

June 6, 2013

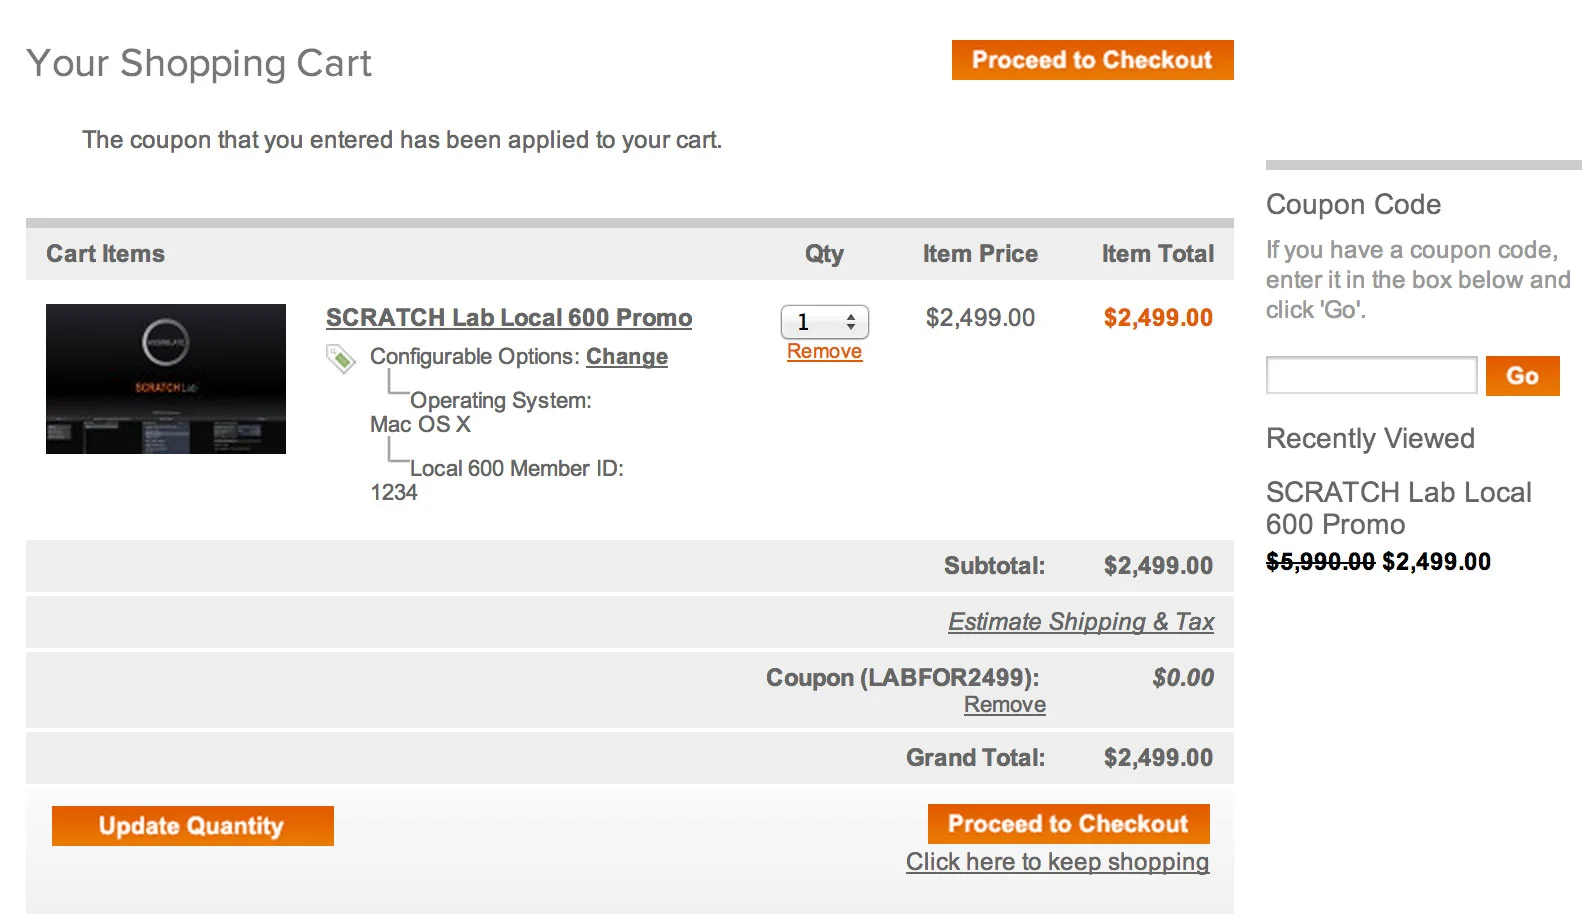
At 6000 USD, Lab is not a cheap piece of software. But if the bulk of your work is processing the production's deliverables, it's an essential tool. Assimilate is currently offering a massive discount on Lab for Local 600 members, down from 5999 to 2499. This includes 1 year of support and updates. After that, it's 1000 per year for continued service. 

Here's an interesting discovery though - you don't actually need to be a 600 member to get this discount. When prompted for Local 600 Member ID #, any 4 digit number will work. 

cheap_scratch2.jpg

On the next screen, put in the coupon code "LABFOR2499" and voila - you just paid a lot less for Scratch than me and many others! 

cheap_scratch3.jpg

Creating production deliverables on the set is often very challenging and complicated work and Scratch Lab gets the job done reliably and efficiently. I'm not sure how long this promotion is going on but it's quite the bargain for all users - union and non-union alike. 

Color Correction

Color Correction

May 19, 2013

This short article began with the rather dry title, "Tracking CDL Through Post." As I began to write, my thoughts started to meander into the obvious and maybe not so obvious ancillary aspects of this topic. I now feel the more gestalt title, "Color Correction", actually seems appropriate. And please forgive me if this post comes off as very "101".

I do a fair job of keeping up with the blogs, (RIP Google Reader, enter Feedly.) Among the many great sites out there on the topic I'm always reading about software and hardware tools, plug-ins, look building, and the technique of color correction but very little about why it's necessary in the first place.

So why do we color correct?

Forget building Looks for a moment. And by that I mean digitally crafting the visual qualities - color, saturation, and contrast - of a shot instead of doing it the old fashioned way - with optics, exposure, and photochemistry. At it's very root, color correction is about camera matching and shot matching within a scene so as not to take the viewer out of the moment with an abrupt change in visual continuity. And this, more than anything else is defined by color temperature.

A definition - Correlated Color Temperature (wikipedia):

The particular color of a white light source can be simplified into a correlated color temperature (CCT). The higher the CCT, the bluer the light appears. Sunlight at 5600K for example appears much bluer than tungsten light at 3200K. Unlike a chromaticity diagram, the Kelvin scale reduces the light source's color into one dimension. Thus, light sources of the same CCT may appear green or magenta in comparison with one another [1]. Fluorescent lights for example are typically very green in comparison with other types of lighting. However, some fluorescents are designed to have a high faithfulness to an ideal light, as measured by its color rendering index (CRI). This dimension, along lines of constant CCT, is sometimes measured in terms of green–magenta balance;[1] this dimension is sometimes referred to as "tint" or "CC".

533px-PlanckianLocus.png

Every camera sensor, every lens, in-front-of-the-lens filter, light source (most particularly the sun and sky!), and light modifier will produce or interpret Reference White (Chroma Free) in a slightly different way. In the case of lenses, something like Master Primes are remarkably well matched within the set whereas older glass like Zeiss Superspeed Mk III's, for example, will have a lot of color temperature and even contrast shift from lens to lens. This being the case, we can say there is a significant amount of color temperature offset to contend with between all of our light producing and image re-producing devices.

Here's a 50mm Ultra Prime on an Arri Alexa with camera white balance set at 3300 -3, lens iris at T2.8. Below it is an Angeniuex Optimo 24-290mm zoom lens @ 50mm put on the same camera with the same exposure and white balance.

RGAR311338.jpg
ultra-clean.jpg
optimo-clean.jpg
angeniuex_optimo_rental_seatles600x600.png

The Optimo Zoom lens (bottom image) is much warmer and greener than the prime. If these lenses were both working in the same setup, color correction instantly becomes necessary, lest one angle looks "correct" and the other either too warm or too cool in comparison.

All of these variables - optics, light sources, sensors, etc - and their inherently different color temperatures often add up to cameras that don't match and shots within the same scene that are offset from one another along the warm-cool and green-magenta axis.

In this era of high ISO cameras, color temperature offsets are most evident in heavy Neutral Density filters, often used to block as much as 8 stops. In my opinion, heavy ND's are the most destructive variable in contemporary digital imaging. Even with the best available filters such as the Schneider Platinum IRND's, we're still seeing a lot of color temperature offsetting with filters over 1.2. The problem is it seems that most Neutral Density filters (either conventional or with Infrared Cut) do not retard Red, Green, and Blue wavelengths of light in equal proportions. What we're left with after reducing a lot of stop with ND is more blue and green wavelength than red which is vital to the accurate reproduction of skin tones. If this part of the picture information has been greatly reduced, it can be very challenging to digitally push life and warmth back into the subject's skin without introducing a lot of noise and artifacting.

Here's the 50mm Ultra Prime again.

ultra-clean.jpg

And here with a Platinum IRND 1.2. The camera ISO, white balance and exposure are the same. To get the stop needed to compensate for the ND, the quantity of the light was increased on the chart by bringing it closer to not affect its color temperature by dimming or scrimming.

nd12.jpg

Comparing the two, they're really quite close. I've got to say, the Schneider Platinum's are the best I've found. With other sets of IRND's, you'll see significant color temp offset even at ND .3 but with these at ND 1.2, there is only a very slight shift to green. But this is still something that will need to be corrected.

Here's IRND 1.5. We're starting to get increasingly cool and green.

nd15.jpg

IRND 1.8

nd18.jpg

IRND 2.1

nd21.jpg

And for comparison, back to our original, filter-less image.

ultra-clean.jpg

After depriving the image of 7 stops of light with Neutral Density, we've unintentionally reduced some of our red channel picture information. At this point we can correct with camera white balance by swinging the camera to a warmer Kelvin and pulling out a little green. Or we can use digital color correction tools like LiveGrade at the time of photography or DaVinci Resolve in post production to match this shot with the scene. ND filters are but one variable among many when it comes to managing color temperature offsets spread across the camera and lighting.

Fortunately, there are numerous ways to deal with it.

In my opinion, these offsets can usually be solved most expediently with Camera White Balance (WB). Depending on the camera and how we're doing the recording, this WB setting is either "baked in" to the image or exists as metadata. In the case of the Arri Alexa, the orange-cyan (warm-cool) axis is represented in degrees of kelvin with green-magenta adjustable in "+" or "-" points of color correction.

alexa_WB.jpg

If you're working with the RED camera, the Redmote is great for wirelessly adjusting white balance when you need to.

redmote.png

Wireless remote operation of the Alexa is a desperately needed feature. The best we can do for now is the Arri RCU-4 better known as the "Assistant Panel".

rcu_4.jpg

This is a great little device that's chronically underutilized as it gives you full remote access to the camera unlike the Web Browser ethernet interface which is very limited. The RCU-4 is powered through its control cable which I've used successfully at lengths up to 150'. This device makes white balancing the Alexa incredibly fast and efficient as it no longer need be done at the side of the camera.

Not to get too obvious with this.. Moving on.

Another approach is to manage color temperature by putting color correction gel - CTB, CTO, CTS, Plus Green, Minus Green - on light sources in order to alter those with undesirable color temperatures to produce the correct, color accurate response. Color correction tools, digital or practical, do not necessarily apply to the creative use of color temperature. Having mixed color temperatures in the scene is an artistic decision and one that can have a very desirable effect as it builds color contrast and separation into the image. Mixed color temperatures in the scene will result in an ambient color temperature lying somewhere in between the coolest and warmest source. Typically in theses scenarios, a "Reference White", or chroma-free white can be found by putting the camera white balance somewhere around this ambient color temperature.

Identifying problematic light sources and gelling them correctly can be a very time and labor intensive process and one that doesn't happen on the set as often as it should so is usually left up to the digital toolset. There is now a whole host of affordable softwares that can be used on the set at the time of photography like LiveGrade or LinkColor or later in post production - such as Resolve, Scratch, Express Dailies, and countless others.

When we're talking about On-Set Color Correction, we're usually talking about ASC-CDL or Color Decision List. CDL is a very useful way to Pre-Grade or begin color correction at the time of the photography. This non-destructive color correction data is very trackable through post production and can be linked to its corresponsing camera media through metadata with an Avid ALE. When implemented successfully, the Pre-Grade can be recalled at the time of finishing and be used as a starting point for final color. In practice, this saves an enormous amount of time, energy, and consequently.. $$$.

Here's one way an ALE with the correct CDL information can be generated in Assimilate Scratch Lab:

In the top level of Scratch, here's our old friend the Chip Chart. Hooray!

scratch_top.jpg

We've applied the standard Alexa Log to Video 3DLUT to these shots and as you can see, the first one looks pretty good but the rest suffer from various degrees of Color Temperature Offsetting.

s1.jpg
s2.jpg
s3.jpg
s4.jpg

At this point, if we Pre-graded on the set, we could load the correct CDL for each shot and be ready to output dailies.

In the bottom lower left on the Matrix page, is the LOAD button. Click it to go to this dialog window:

load_cdl.jpg

Here CDL from the set can be applied on a shot by shot basis. Once everything is matching nicely it's time to embed this work into metadata that can easily be tracked and recalled at a later time.

CDL_Export1.jpg

Select +CDL and click "Export EDL/ALE"

cdl_ale.jpg

From the drop-down, select .ale, and then name your ALE something appropriate.

Now in Avid Media Composer, we're going to import this ALE to add ASC-CDL Slope, Offset, Power, and Sat (Gamma, Lift, Gain, and Saturation) values that will now be associated with their corresponding clips.

This post assumes a working knowledge of Media Composer. If you're not sure how to set up an Avid project, import media, make bins, and import an ALE, there are plenty of great tutorials out there.

Once you have the transcoded DNxHD media in the correct MediaFiles directory, import the ALE.

choose_columns.jpg

Click the "Hamburger" Icon in the lower left of the bin (I have no idea what this Selector tool is actually called but I've heard many an Assistant Editor refer to it as the Hamburger), and then select "Choose Columns".

bin_columns.jpg

Here we have the opportunity to select which columns show up in our bin. The ASC-CDL values are already embedded in the ALE we imported but it's a good idea to verify them which we can do at the bin level by turning on these columns. From the "Choose Column" drop-down, select ASC_SOP (Slope, Offset, Power) and ASC_SAT (Saturation).

asc_sop_sat.jpg

As you can see, all of the adjustments we made as CDL are now reflected in numeric values and are linked to their corresponding shot in the form of Avid metadata. ASC-CDL, while unfortunately limited in a lot of ways, really is a fairly univeral interchange for color correction data and can be implemented quite easily.

What we really need is a way to recall these ASC-CDL values from the ALE in a software like LiveGrade making this color correction data even more interchangeable.

Another possible workflow is to generate the dailies in Resolve using CDL from the set. Once that CDL corresponds with a shot in Resolve, that CDL can track with its correct shot all the way to finishing if the original Resolve project(s) is used.

What's the best approach? All of the above. The right tool for the right task and no two projects are alike. That's why a DIT is hired in the first place, to consider the criteria and then advise the best course of action. 

Update

on 2013-06-06 14:55 by Ben Cain

Just read this related article -

http://www.hdvideopro.com/technique/miscellaneous-technique/help-desk-getting-it-white-the-first-time.html?utm_medium=referral&utm_source=pulsenews&start=1

Content feels eerily familiar!